
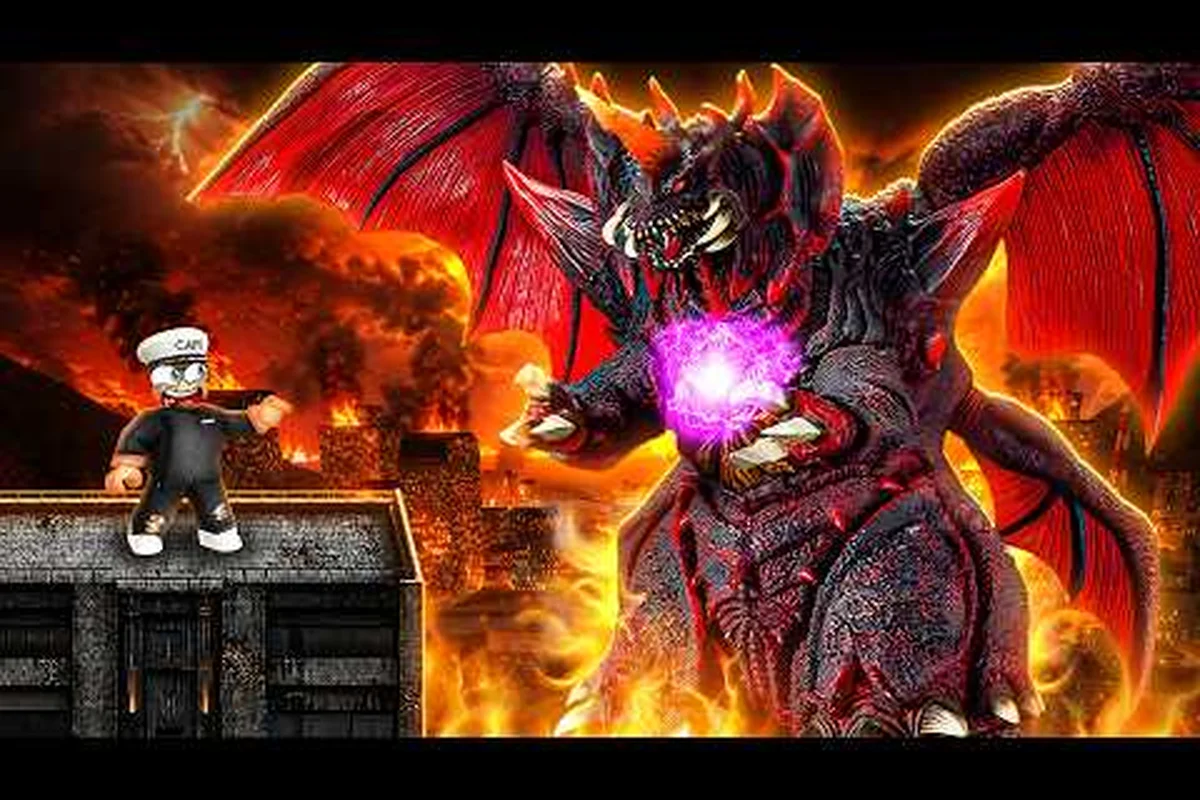
Mastering Kaiju Alpha Godzilla abilities separates a casual stomper from a tournament threat, because the entire combat bar — 5 skills plus 2 roars — rotates around how well you chain each monster's signature kit. Whether you main Evolved Godzilla, swing around with Shimo's frost kit, or chase the chaos of Destoroyah and Monster Zero, every variant brings a different rhythm to the city-arena PvP. This breakdown walks through the strongest skills, the practical combos, and the limit-break breakpoints that decide fights at level 200 and beyond.
Core Combat Bar: How Kaiju Alpha Abilities Work
Every kaiju in the game runs on the same five-skill-plus-two-roar combat bar, but the actual ability list is unique per monster. Players report this bar as the central decision-making layer during a fight: position, engage, commit, and disengage all hinge on cooldown tracking and roar timing. According to community data pulled from the update 49 patch notes, the developers intentionally kept the layout consistent so that muscle memory carries between kaiju, even when individual moves do wildly different things.
The combat bar behaves like a fighting-game screen rather than an MMO hotbar. You have:
-
Skill 1 (M1 chain) — your basic combo string, often 3 to 4 hits
-
Skill 2 (M2 slam) — a heavier single hit with stagger potential
-
Skill 3 (charge/leap) — mobility tool that doubles as engagement
-
Skill 4 (projectile/beam) — ranged pressure, often your highest damage on cooldown
-
Skill 5 (ultimate) — long-cooldown finisher, frequently a screen-clearing nuke
-
Roar 1 and Roar 2 — utility tools for stuns, heals, or debuffs
A common mistake new players make is treating every kaiju like a beam-spammer. In practice, the strongest players weave melee and ranged pressure together. Roars are saved for clutch moments: a well-timed roar on Evolved Godzilla can interrupt a Destoroyah charge and turn the entire trade in your favor.
| Combat Bar Slot | Typical Role | Common Cooldown Tier | Strategic Use |
|---|---|---|---|
| Skill 1 | Combo starter / poke | Short (2-4s) | Open engagements, build stagger |
| Skill 2 | Heavy stagger hit | Medium (5-8s) | Punish whiffed skills |
| Skill 3 | Mobility / gap closer | Medium (6-10s) | Reposition, escape, re-engage |
| Skill 4 | Ranged burst / beam | Long (10-15s) | Zone opponents, pressure buildings |
| Skill 5 | Ultimate finisher | Very long (30-60s) | Wipe grouped enemies, secure kills |
| Roar 1 | Stun / utility | Long (20-30s) | Interrupt ultimates, peel pursuers |
| Roar 2 | Buff / heal / debuff | Very long (45-90s) | Turn decisive teamfights |
The cells economy feeds into ability strength too. Players farm G-Cells through kills and building destruction, then spend them on cosmetics, game-pass kaiju unlocks, and shop-tier upgrades. According to community testing summarized in the Iho film comparison video, the in-game abilities closely mirror each monster's movie portrayal — Godzilla 2019 leans on atomic-breath pressure, while Evolved Godzilla layers that atomic kit on top of a heavier stagger frame.
Evolved Godzilla Abilities: The Atomic Stagger King
The Evolved Godzilla kit is widely considered the most well-rounded PvP pick in the entire roster, because every tool in his bar has a clear use-case. Players who main Evolved Godzilla tend to climb rank faster than most other variants, since the kit doesn't demand pixel-perfect execution to extract value. The core of Kaiju Alpha Evolved Godzilla abilities revolves around sustained pressure: poke with Skill 1, force a panic-dodge, then punish with Skill 2 or Skill 4.
Signature Moves Breakdown
Evolved Godzilla's signature tools include a tail sweep that hits a wide arc, an atomic breath that ramps up damage the longer you charge, and an ultimate that detonates a column of energy in a straight line. According to community-reported testing, his Skill 2 stagger is one of the longest in the game when landed on an unbuffed target, which makes him exceptional at locking down mobile kaiju like Shimo and Zilla.
| Ability | Effect | Cooldown | Notes |
|---|---|---|---|
| Skill 1 — Atomic Tail | 3-hit tail combo, knocks back on final hit | ~3s | Safe poke, builds stagger meter |
| Skill 2 — Dorsal Slam | Heavy stagger, short AoE shockwave | ~7s | Punish missed leaps, lockdown tanks |
| Skill 3 — Atomic Charge | Linear charge, knockback, i-frames | ~9s | Best engage tool, also a panic escape |
| Skill 4 — Atomic Breath | Charged beam, ramps damage | ~12s | Zone corridors, pressure buildings |
| Skill 5 — Spiral Heat Ray | Full-map straight-line nuke | ~45s | Closes teamfights, ignores most roars |
| Roar 1 — Atomic Pulse | Radial stun, medium range | ~25s | Stops incoming ultimates, peels divers |
| Roar 2 — Dorsal Overcharge | Self-damage buff for 8s | ~60s | Stack with Skill 4 for one-shot windows |
The Dorsal Overcharge roar is the trick most new Evolved Godzilla players miss. Pop it before your Spiral Heat Ray and your ultimate damage scales by a noticeable margin — community reports put the increase somewhere around 30-50% extra damage, though exact values shift with each patch. The interaction between Roar 2, Skill 4, and Skill 5 is the highest-damage combo in the entire Evolved kit, and learning to chain all three within the cooldown window is what separates a decent Evolved main from a tournament-level one.
Matchup Tips and Limit Break
Evolved Godzilla plays well into most matchups, but he struggles against sustained ranged pressure from Monster Zero and against the freezing field that Shimo drops. Players recommend keeping Skill 3 (Atomic Charge) reserved as a defensive tool when fighting Shimo, because the i-frames let you escape a freeze combo before it lands. At level 200 with Limit Break, his stagger durations extend further and his breath damage scales into a true one-shot range against unarmored kaiju.
Shimo Abilities: The Frost Control Pick
Shimo's kit is built around Frostbite — a stacking debuff she applies through her Skill 1 and Skill 4. Once a target stacks enough Frostbite, they suffer slowed movement, reduced attack speed, and a chunk of burst damage if Shimo lands her ultimate. Players who main Shimo tend to favor a kite-and-punish playstyle rather than the raw brawl that Evolved Godzilla rewards. The entire Kaiju Alpha Shimo abilities kit rewards patience and positioning.
Frost Stack Management
The Frostbite system works on a hidden counter that ticks up each time you land a chill-applying skill. According to community testing, it takes roughly 4-5 successful chill applications to max the stack, and the debuff lingers for several seconds after the last application. This means Shimo's optimal combo isn't a single burst — it's a sustained pressure window where you keep applying chill while dodging the enemy's retaliation.
| Ability | Effect | Frostbite Application | Cooldown |
|---|---|---|---|
| Skill 1 — Frost Claw | 2-hit claw combo, applies chill | 1 stack per hit | ~3s |
| Skill 2 — Tail Sweep | Wide arc, knocks back | None (pure utility) | ~7s |
| Skill 3 — Ice Glide | Forward dash with i-frames | 1 stack on contact | ~8s |
| Skill 4 — Frost Beam | Mid-range beam, applies chill over time | 1 stack/sec while channeled | ~12s |
| Skill 5 — Absolute Zero | AoE freeze, detonates max Frostbite stacks | Detonates all stacks | ~50s |
| Roar 1 — Blizzard Howl | Cone slow, small AoE | 1 stack on hit | ~25s |
| Roar 2 — Permafrost Aura | Persistent chill field around Shimo | 1 stack/sec nearby enemies | ~70s |
Shimo's Roar 2 is one of the most disruptive utility tools in the game. Drop it in a chokepoint and any kaiju that walks through takes constant Frostbite stacks, which means even a kiting Shimo who never lands a direct skill is still threatening. The downside is that Roar 2's cooldown is brutal — 70 seconds is a long window where Shimo is much more vulnerable.
Combo Windows and Matchups
The standard Shimo combo is Frost Claw into Ice Glide into Frost Beam, then circle out and wait for cooldowns. Players who can land this three-skill chain apply 3 Frostbite stacks in under 4 seconds, which is more than enough to threaten the Absolute Zero detonation. Shimo struggles most against fast melee kits like Kong and Zilla, since they can close the gap before her chill stacks reach dangerous levels. The matchup into Evolved Godzilla is rough but winnable if you save Ice Glide for his Atomic Charge and deny his breath uptime.
Destoroyah Abilities: The Chaos Detonator
Destoroyah's kit is the highest-risk, highest-reward option in the entire roster. His abilities revolve around a Cluster Bomb mechanic: every skill plants micro-explosions on the ground that detonate after a short delay, layering damage zones across the arena. Players who main Destoroyah tend to either dominate a match or feed the enemy team, because the kit punishes impatient play. According to community data gathered from the Nerdious Momentos Evolved Godzilla showcase, Destoroyah is consistently listed in the top three most-feared PvP picks.
Cluster Bomb Layering
| Ability | Effect | Cluster Bombs Planted | Cooldown |
|---|---|---|---|
| Skill 1 — Horn Lance | Fast linear stab, pulls target | 0 (single target) | ~3s |
| Skill 2 — Wing Beat | AoE knockback, staggers | 2 bombs in arc | ~6s |
| Skill 3 — Inferno Charge | Charge with i-frames, fire trail | 4 bombs in line | ~9s |
| Skill 4 — Micro-Oxygen Blast | Ranged AoE, plants 5 bombs | 5 bombs in zone | ~13s |
| Skill 5 — Oxygen Destroyer | Massive delayed nuke | 8 bombs in target zone | ~50s |
| Roar 1 — Heat Shield | Self-buff, reflects projectiles | 0 (defensive) | ~25s |
| Roar 2 — Micro-Oxygen Burst | Panic-button AoE damage | 3 bombs around self | ~45s |
The real strength of Kaiju Alpha Destoroyah abilities is how the bombs layer. A skilled Destoroyah main will plant bombs with Skill 4, then kite the target back over the same zone with Skill 3, stacking 9+ explosions into a single engagement window. The Oxygen Destroyer ultimate is one of the highest single-target damage tools in the game if the target stands in the bomb zone for the full delay, which is why the best Destoroyah mains pair it with Roar 1's Heat Shield to deny interrupts.
Risky Playstyle and When to Commit
Destoroyah is squishier than Evolved Godzilla, and his Skill 1 lacks the stagger of a tail sweep. This means you can't win raw trades — you have to win through bomb layering and cooldown tracking. The classic commit window is when you have Skill 4, Skill 5, and Roar 2 all available: drop the bomb zone, bait the target into chasing, then detonate. If you mistime the commit, you burn two long cooldowns and leave yourself wide open, which is why Destoroyah mains tend to be the most patient players in any given match.
Monster Zero and the Hidden Unlock: King Ghidorah's Kit
Monster Zero — better known as King Ghidorah — is one of the most coveted kaiju in the game because of his unlock requirement. According to community reports, Monster Zero requires 10 hidden skull collectibles scattered across the map, which puts him in the same progression tier as the game-pass kaiju. His kit is built around Gravity Pressure, a unique debuff that pulls enemies toward a target zone and amplifies incoming damage.
Gravity Pressure Mechanics
| Ability | Effect | Gravity Pressure | Cooldown |
|---|---|---|---|
| Skill 1 — Bite Chain | 3-hit bite combo | None | ~3s |
| Skill 2 — Wing Slam | Heavy stagger, AoE | 1 stack in cone | ~7s |
| Skill 3 — Gravity Drift | Hover-dash, ignores ground slows | None (mobility) | ~8s |
| Skill 4 — Gravity Beam | Mid-range beam, pulls target | 1 stack/sec | ~13s |
| Skill 5 — Triple Gravity Ray | Three converging beams | 2 stacks on each hit | ~50s |
| Roar 1 — Gravity Roar | Pulls all nearby enemies toward Monster Zero | 1 stack per enemy | ~25s |
| Roar 2 — Hurricane Wing | Persistent wind field, knockback aura | 1 stack/sec | ~70s |
Monster Zero's abilities are a different flavor than the other tier-one kaiju. Where Evolved Godzilla wins through raw stagger and Shimo wins through attrition, Monster Zero wins through positioning denial. The Gravity Pressure mechanic forces enemies into bad positions, and his Roar 1 pulls entire teams into a single zone for a triple-beam ultimate that can wipe an uncoordinated squad. For players grinding out the 10-skull unlock, the payoff is real: Monster Zero is widely considered the strongest group-fight kaiju in the game.
Best Build Order and Ability Priority for New Players
If you just unlocked one of these kaiju and you're not sure how to spend your early hours, the community-recommended priority list is consistent across patch cycles. Players who follow this order tend to reach level 200 and Limit Break faster than players who spread thin across multiple kaiju.
| Priority | Action | Reason |
|---|---|---|
| 1 | Pick ONE main kaiju and grind to level 200 | Single-kaiju level cap rewards mastery |
| 2 | Complete Limit Break on that kaiju | Stat boosts apply retroactively |
| 3 | Learn the 5-skill combo chain | Muscle memory for PvP |
| 4 | Practice roar timing against AI | Roars decide clutch moments |
| 5 | Save cells for game-pass kaiju if F2P | Free roster is strong, but limited |
| 6 | Unlock Monster Zero for group fights | Best squad kaiju after the grind |
The single biggest mistake new players make, according to repeated community feedback, is spreading cells across multiple kaiju instead of funneling everything into one main. The level 200 cap and Limit Break system are designed around a single-main progression model, and the cells economy punishes split investment. The Nerdious Momentos Evolved Godzilla showcase demonstrates this in practice: a level 200 Limit Break Evolved Godzilla routinely wins 1v2s that a fresh-level kaiju would lose.
Frequently Asked Questions
What is the best kaiju to main for PvP in Kaiju Alpha?
Evolved Godzilla is widely considered the most well-rounded PvP pick because his kit has clear use-cases for every combat bar slot, his stagger is among the longest in the game, and his Spiral Heat Ray ultimate can turn teamfights. Monster Zero is stronger in coordinated group play but requires grinding 10 hidden skulls to unlock, which makes Evolved Godzilla the safer long-term main for new players.
How do roars work in Kaiju Alpha abilities?
Each kaiju has two roars that act as long-cooldown utility tools rather than damage dealers. Roar 1 is typically a stun or peel tool with around 25 seconds of cooldown, while Roar 2 is a stronger buff, heal, or AoE ability with 45-90 seconds of cooldown. The best players save roars for clutch interrupts or decisive teamfight moments rather than wasting them on poke.
Can you reset your ability points or respec a kaiju in Kaiju Alpha?
There is no traditional respec system — abilities are tied directly to each kaiju's kit, not to a spendable point pool. However, you can switch between any kaiju you own at any time, and the Limit Break system lets you push your main kaiju's stats higher than unbreaked alternatives. Players recommend picking one kaiju early and funneling all cells into that single level 200 Limit Break build.
What is the strongest ultimate ability in the game?
Monster Zero's Triple Gravity Ray and Destoroyah's Oxygen Destroyer are both candidates for highest-damage ultimate depending on the scenario. Triple Gravity Ray excels in group fights because it hits multiple targets and stacks Gravity Pressure, while Oxygen Destroyer has the highest single-target burst if the target stands in the bomb zone. Both ultimates are roughly equal in raw damage, but Triple Gravity Ray is more forgiving against mobile targets.
Do abilities change after Limit Break in Kaiju Alpha?
Limit Break doesn't add new abilities to your kit, but it does boost the damage, stagger duration, and scaling of every skill and roar on your main kaiju. The exact boost varies by patch and by which Limit Break tier you reach, but community reports consistently show a noticeable damage increase and longer stagger windows after breaking the level 200 cap. This is why Limit Break is considered mandatory for any serious PvP main.